|
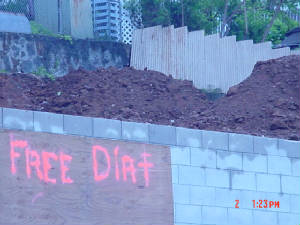
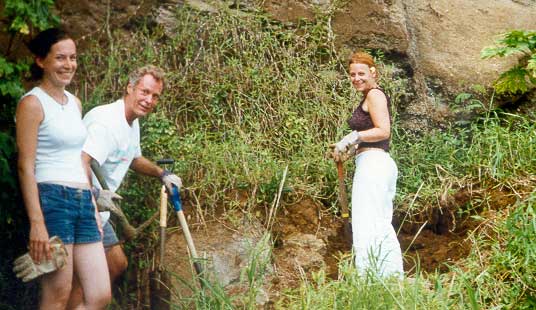
This spot (pix to right) is an old landslide covered with weeds. (Ideally avoid weed seeds.)
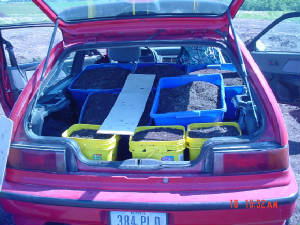
When you find loose dirt, you just need a few buckets and a shovel. (Sometimes a sifter of sorts is handy. And of course a
few helpers like Fenne and Anja.)
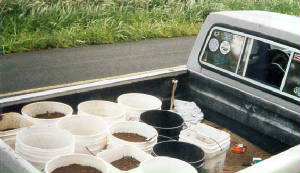
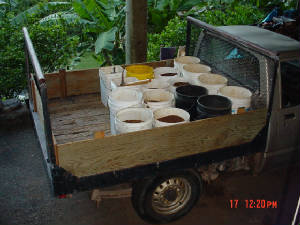
The best dirt truck ever was Joe’s little flatbed with a
wooden deck.
How to mix dirt.
When you get home with buckets full of dirt, it is easy to make the world’s finest
garden dirt while you are still in buckets. I only mix about a half bucket at a time, as then it is easy to “box”
– pour from bucket to bucket.
Mostly I mix in a good bit of fertilizer (about a half cup of 10-20-20 in Hawaii – in Iowa 6-24-24, or any low-high-high number) and some sand and
some peat moss. (Plus some worm food, a dash of lime, and a wee sprinkle of iron/trace elements.) (See picture way below about salt burn – don’t go crazy with fertilizer.)
If the dirt is going to be under water, only use a little peat moss, and maybe a little
more sand. Even 100% sand is fine underwater. (This is Iowa silica sand, not Hawaii coral sand, which is a little too limey.)
If the dirt is going to be an added layer on to an existing plant, and is to feed it
for a while, go a little richer on the fertilizer or compost if you have it.
Adding rich dirt around your plants of all kinds is an amazing way to add a little
life to your gardens.

Above is my “bunch” field, round 2. I harvested
whole little plants off of it for a year or two. Now I added an inch or two of very rich dirt, high in peat and fertilizer,
just plopped on top of the last few plants.
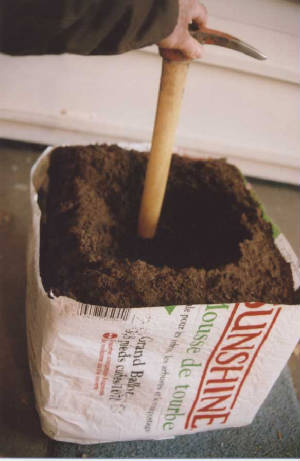
Above is a “well” to let water soak into peat moss.
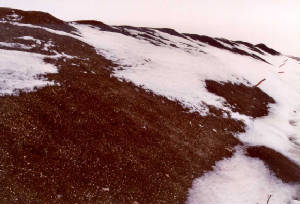
After about a year or
so, with constant turning over, they have finished compost. This is some shweet stuff, and the price is only $10 a ton. It
is a little warm deep in the pile, but mostly cooled down. (In the picture above, note the snow is not melted.) It can be mixed in garden dirt (unlike unfinished compost, which should only be used on the surface). You
can grow gardens in 100% compost as far as I know. There is very little plastic and you can use the compost as mulch and it
looks fairly dressy.
I can get 300-800 pounds in “Little Red” (mostly loaded in pix
to right, I’ll put a course of boxes on top of what is there). The cost is $1.50 - $4.00. (No pix, but in Honolulu they have a similar set up. There the best deal is the free
mulch, which is partially composted, and does not have the plastic in it, which makes it far more useful to me.)
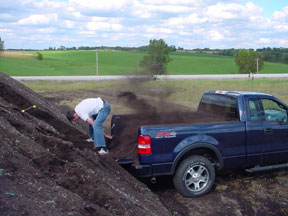
If you have a truck you can get lots more. Here is Mike’s truck and Mike fooling around – but it shows
an advantage of getting your compost on a nice dry day in September. The stuff is light and fluffy.
|
 |
|
|
|
|
|
I never dreamed I’d be making a web page
on dirt….but here we are. Yea!
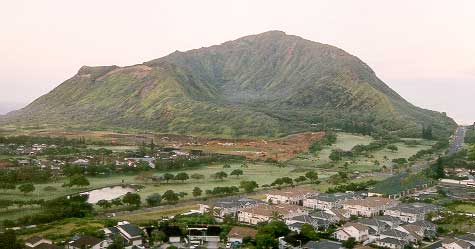
First thing you need to find is a construction site with lots
of piles of crumbly dirt. Most of you see in this picture a beautiful volcanic cone, and maybe the golfers see the links.
But look closer at all that dirt!
And ideally a truck like
Morgan’s. If you use the trunk of a car, lay down a sheet of plywood first so you don’t ruin the floor. And a
bungie to tie the buckets together.
Ideally (but rarely) your dirt site will have a “free dirt” sign. Or ask if they are paying to have it hauled away. For legal reasons job sites
do not like to encourage idiots walking around in slippers. Usually the best time to make a run is before or after work hours.
How to prepare garden dirt.
Let’s assume you have a typical situation in Iowa: pretty reasonable dirt, but
too much clay. And let’s assume that the perfect soil is equal parts of the three basic ingredients: clay, sand, and
organic matter / silt. This kind of dirt is extremely fluffy and easy to work in.
If you are building a raised garden, just start adding the missing two (sand and peat
moss). If you are not adding elevation – then you first need to dig out a few deep holes. (Throw the heavy clay away
– find a site that is accepting clean fill.) Then add the missing two.
Peat moss tricks: Peat moss naturally repels water if it gets too dry, and it is packed
in tight packages. Cut the package into 2 halves. Dig out a little well in the center, and fill with water a few times in
the days before you use it. Keep adding water, so that it stays moist, and easier to break up. Peat moss is a tad acidic,
and is the main reason to add lime to your mix. About a tablespoon lime per gallon of peat moss. The best lime is dolomite
lime.
I also add in some basic fertilizer (like 10-20-20) – quite a bit. If your hole
is deep you can add lots and not worry about burning the plants. Plus a little iron and traces if you have it. The weirdest
thing I add is “worm food”. Worms actually eat dead leaves and stuff, but I toss in any old flour, corn meal,
etc. figuring it helps something.
The best thing to add is compost if you have it. You just can’t get too much
compost.
Another thing I add in the fall (which is usually when I do all of this) is dead leaves.
Somewhere I read that they are perfect compost material – all by themselves – no need to mix the right ratio of
wood chips and grass clippings and all that. I have buried “tons” of leaves in my garden (along with liberal fertilizer)
and me and the worms are happy. By spring the leaves are 99% decomposed.
I do my mixing with the shovel as it goes in. My favorite shovel is a tree-planting
spade with a long narrow blade.
When spring comes I mostly just dig a hole and plant, as opposed to turning the whole
thing over. Lately I have used no fertilizer in the summer as the plants are growing. I think I like it better – better
taste, and the plants seem more rational (that makes sense to me – means they don’t have funny growth spurts,
excess growth in fall, etc.).
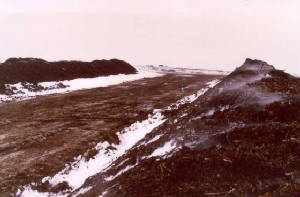
Let’s show off the
fine compost available at the Iowa City landfill. In the late fall / early winter the piles get so hot they steam and smoke
(above). Small fires break out. At this stage of the process you can have all the compost you want for free. It has quite
a bit of plastic in it at this stage. (They say the plastic is a biodegradable type, but I think it mostly is “blow-away-able”.
There is less of it by the next stage.)
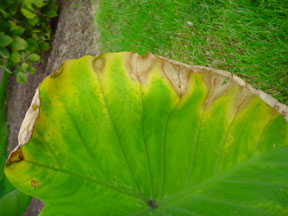
If you use compost you can ease off on your fertilizer. Too much
fertilizer on taro looks like the picture to the left. You get little dead spots along the edge. If you look closely it almost
looks like the veins are rivers and the salt burn is a little delta where the salt flows to minimize damage to the rest of
the leaf.
OK, that is all the dirt, and about the
end of this web site. Thanks for your visit, and good luck with your taro. The last page is very old stuff. Then there is
a contacts page if you have some tales to tell, or questions.
On to old 1997 version
|
|
|
|
|